Threads generally makes me sad by being social media, so I don’t look at it often. Imagine my surprise today when I was wading through some hostile replies to my thoughts about an F1 related topic and I stumbled across a comment to me about my post on Using Git Hooks for Displaying Last Modified Dates and how to apply it to Astro Sitemap.
Interesting question. I guess the approach would be to first use pre-commit to modify the timestamps on any pages updated in the commit and then modify the sitemap file by looking for any pages with date modified timestamps and updating their entries in the sitemap.
There is a serialize function in Astro Sitemap and it looks like it happens on build when writing out the sitemap. If this is true, so long as you do your git commit before you do your build, it should update the pages with the correct last modified dates.
Now I’m going to have to play with Astro Sitemap and find out!
I wrote about OCR in CleanShot X in my last post, and my friend David Nelson reminded me of another stellar feature of CleanShot X – scrolling screenshots.
It’s true, this is a great feature. It’s a little counterintuitive to get it to work initially, but once you get it, you’ll use this all the time. I have a keyboard shortcut set up to initiate a scrolling screenshot, but you can do it from the CleanShot X menubar icon (or even from Raycast – more on that later). All I have to do is hit ⇧⌥⌘4 to start the scrolling capture using CleanShot X. Then it’s a little odd - it wants you to drag an ouline around the area to be scrolled. Usually this means my full browser window. Then click Start Capture, click Auto-Scroll, click Done when it finishes, and then you have a long screenshot.
Here’s the result.
I originally put a screenshot of my own site’s home page here, but It looks a little funny because I have a site menu that doesn’t disappear up the page as it scrolls, so the menu looks long and repetitive in a way that it isn’t. Page scrollbars have similar issues, but overall, it’s a great feature that’s useful if you have a need to document a long document of any kind.
I love this modern era of computing, and do you know why? Text Recognition, also known as OCR in many apps, is amazing in so many apps and OSes now, and it is very useful.
CleanShot X does Text Recognition a little differently than other apps. With CleanShot X, you can use a keyboard shortcut to bring up a capture tool, exactly like a screenshot capture tool, and you drag over the area you want text recognition in. In my case, I have ⌥⇧⌘O set as my keyboard shortcut.
Let’s say I have a screenshot of the title of The Verge’s recent iPad Pro article, for some inexplicable reason.
I can hit ⌥⇧⌘O, drag over the part of the image with the text I want to capture, and release. CleanShot X automatically detects all text in that region and copies it to the clipboard. Then I can (also inexplicably) open TextEdit and paste it in.
I like the simplicity of it and the fact that I get to define the region to look for text in, and the fact that it just copies all text in that region to the clipboard without me having to pick and choose words or lines or paragraphs or whatever.
Here’s a little tip for you Windows users: Snipping Tool has Text Recognition built in too. You can fire it up and capture onscreen notes that people are typing in Teams meetings and use the Text Recognition tool to grab the text for yourself in case the presenter forgets to send out a particular set of notes they’re typing up as they’re talking. It’s great. I do it all the time.
There are lots of Text Recognition examples in macOS and iOS and apps that run on those platforms, and I celebrate them all. We live in a golden age of utility software.
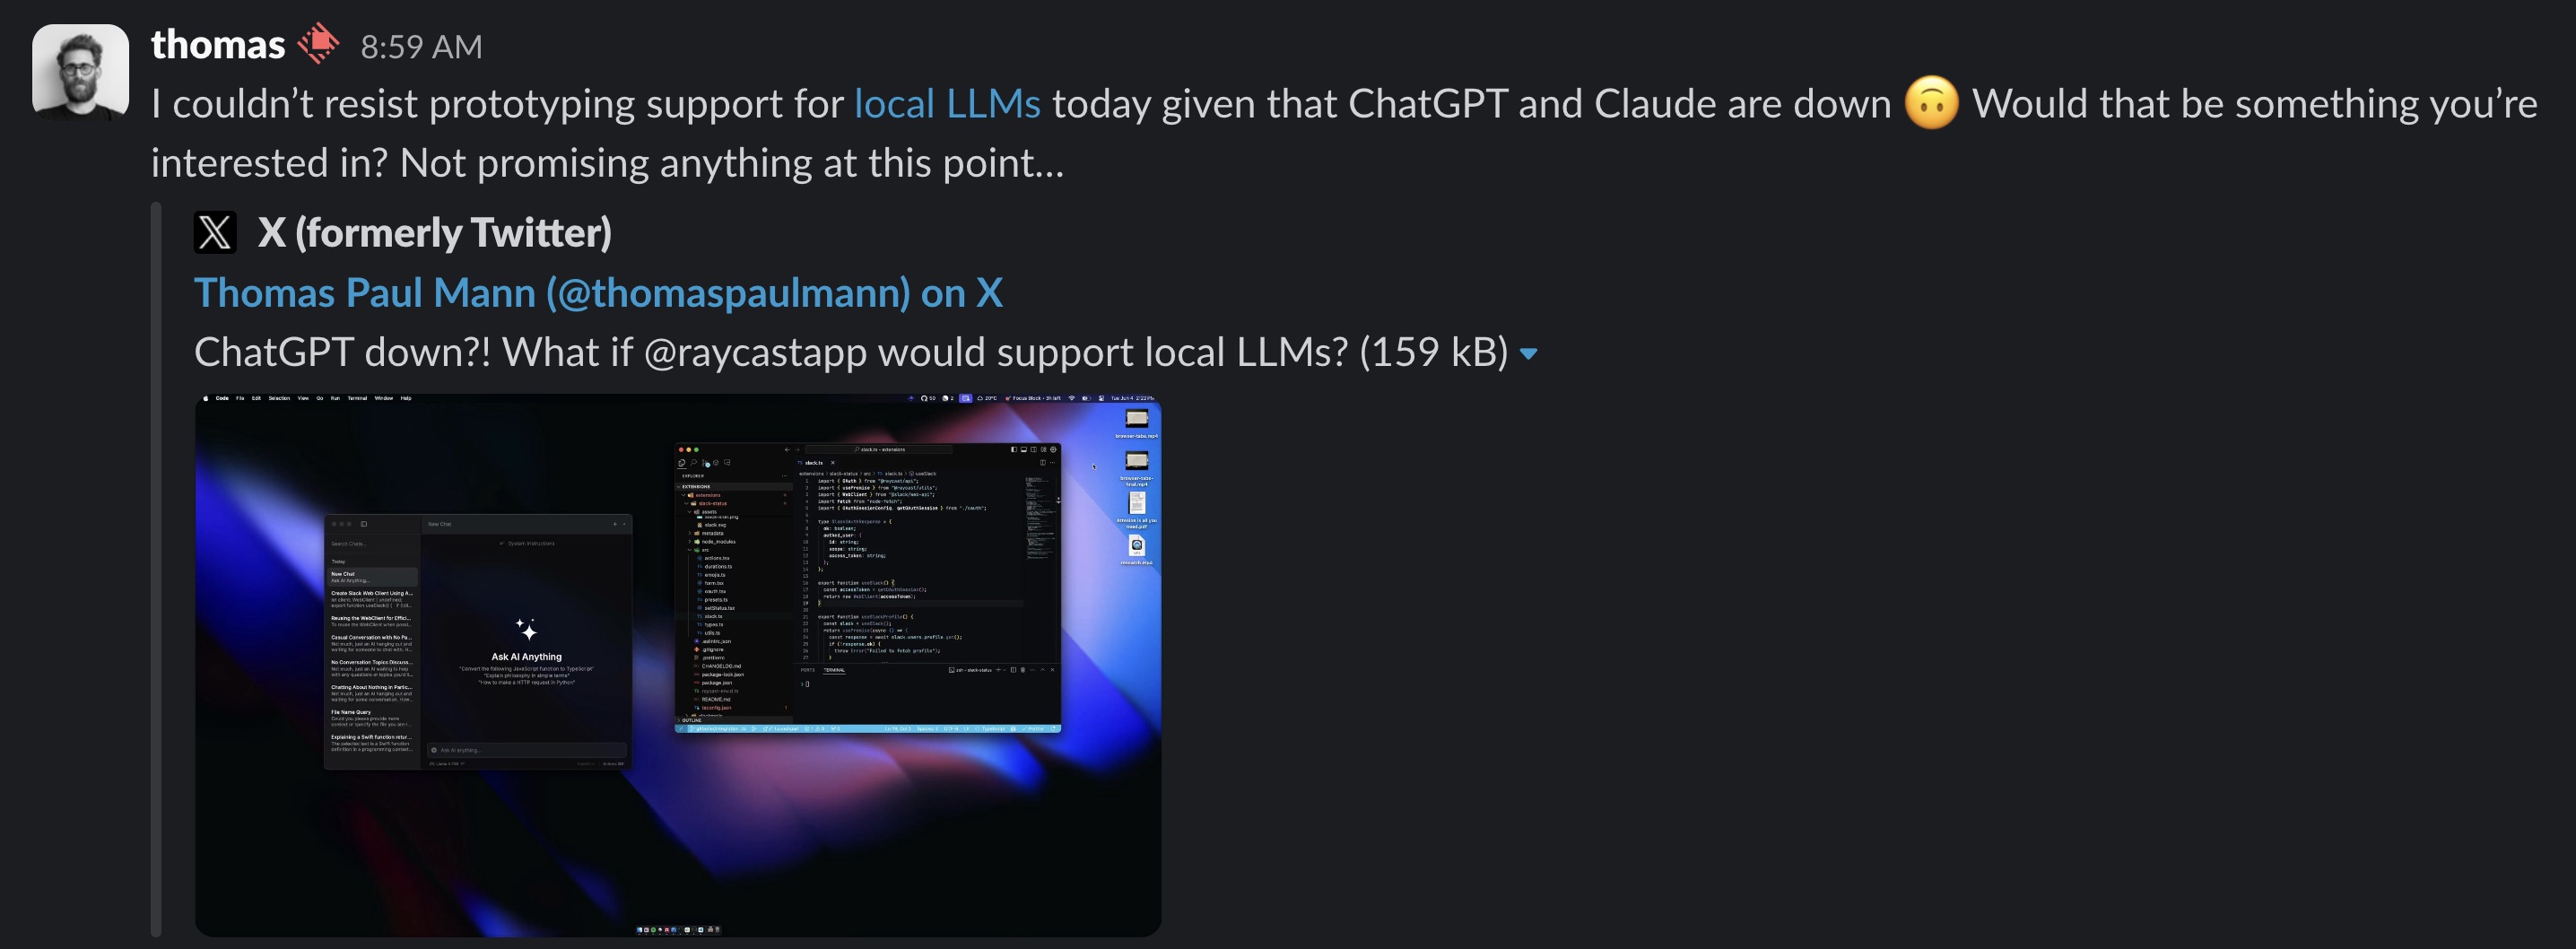
I’ve finally had a chance to play with the ChatGPT macOS app1 and I’m here to say it doesn’t swing the uppercut required to get me to stop paying for Raycast Advanced AI. Right now the one thing it has that Raycast AI does not is the ability to upload files for parsing, but that’s coming soon to Raycast AI. Raycast also keeps playing with ideas like support for local LLMs to augment their Advanced AI plan support for models like OpenAI GPT-4o, Anthropic Claude 3 Sonnet and Opus, and Perplexity Llama 3 Sonar Large.
Add to that things like Raycast AI Commands, which I posted about previously, and Raycast AI is still a very attractive option for integrating AI into workflows where it makes sense to do so. I feel like I have to add that caveat given that a lot of people want to dismiss the whole thing out of hand as some kind of scam. It’s not – but that doesn’t mean LLMs are applied optimally in a lot of cases and it doesn’t mean I trust the companies involved to take time to come up with correct and optimum use cases.2
Slight tangent – I think I view Raycast AI Commands as similar in purpose to things like Fabric and GPTScript, even if different in scope and flexibility, possibly. Definitely more on that as I find time to investigate all of these further.
Mac display settings are weird. I have a 5k Apple Studio Display. Until recently, I’ve been using the default resolution , which is 2560 x 1440. Then I started using the Studio Display for my work laptop as well, which is a Lenovo laptop, and I noticed by default it just uses the full resolution of 5120 x 2880.
After seeing how great all that extra space on the PC was for remoting into servers and controlling large semiconductor test equipment UIs and being able to comfortably see everything without any scrolling, I started wondering why I was running the Mac at 2560 x 1440.
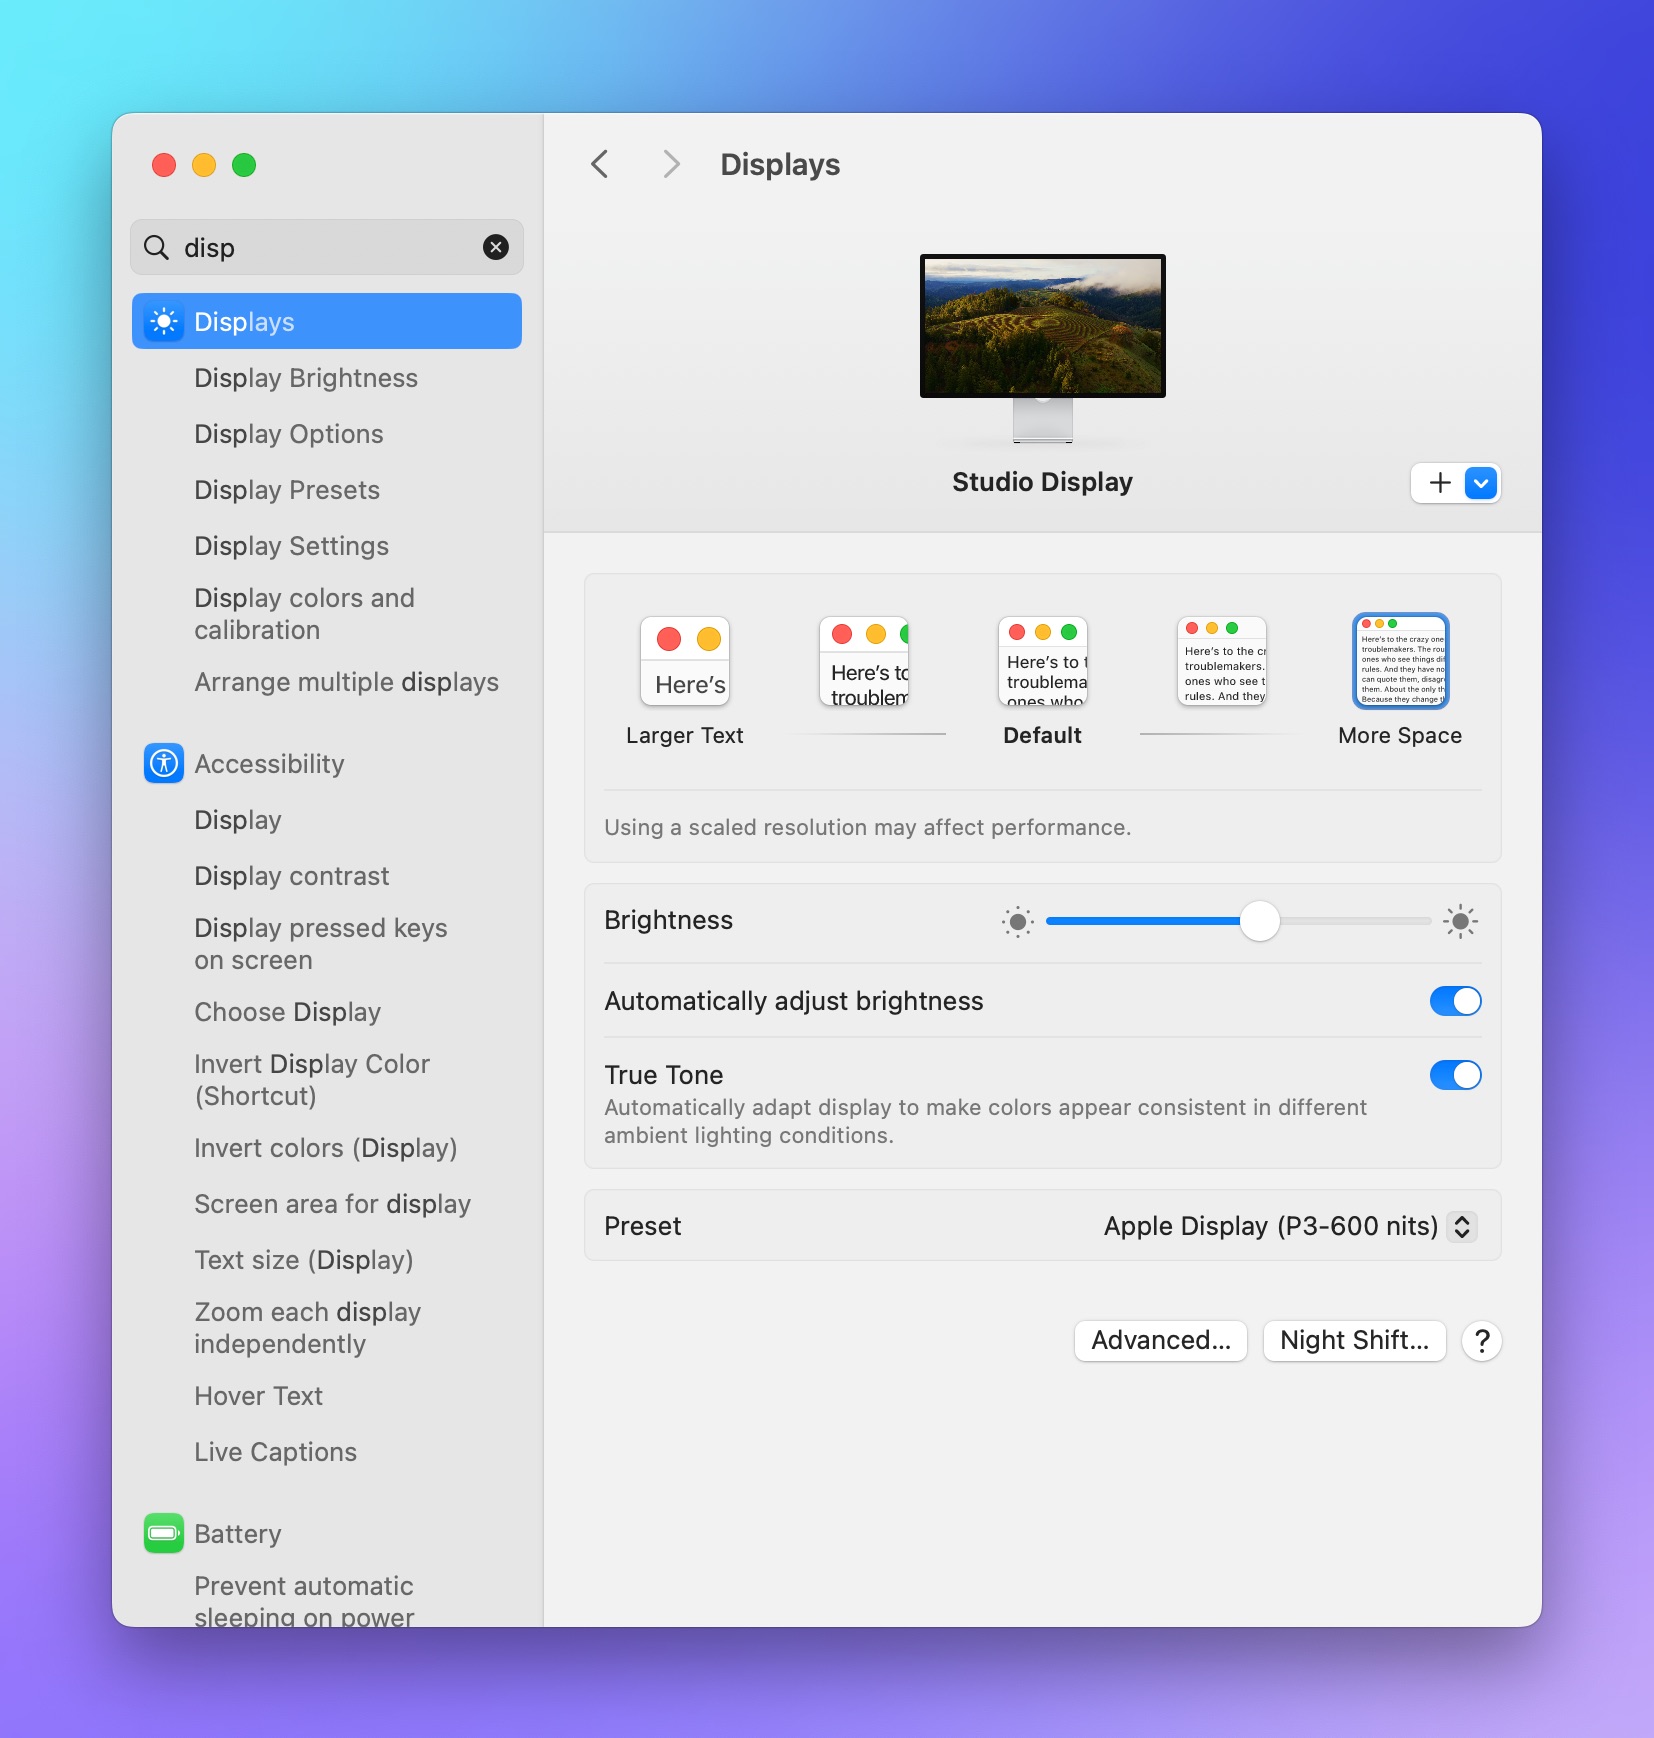
System Settings has a Displays section that, among other things, shows you your resolution as 5 buttons labeled “Larger Text” on the low resolution side of things, through “Default” for 2560 x 1440, up to “More Space” for the (apparently) highest resolution.
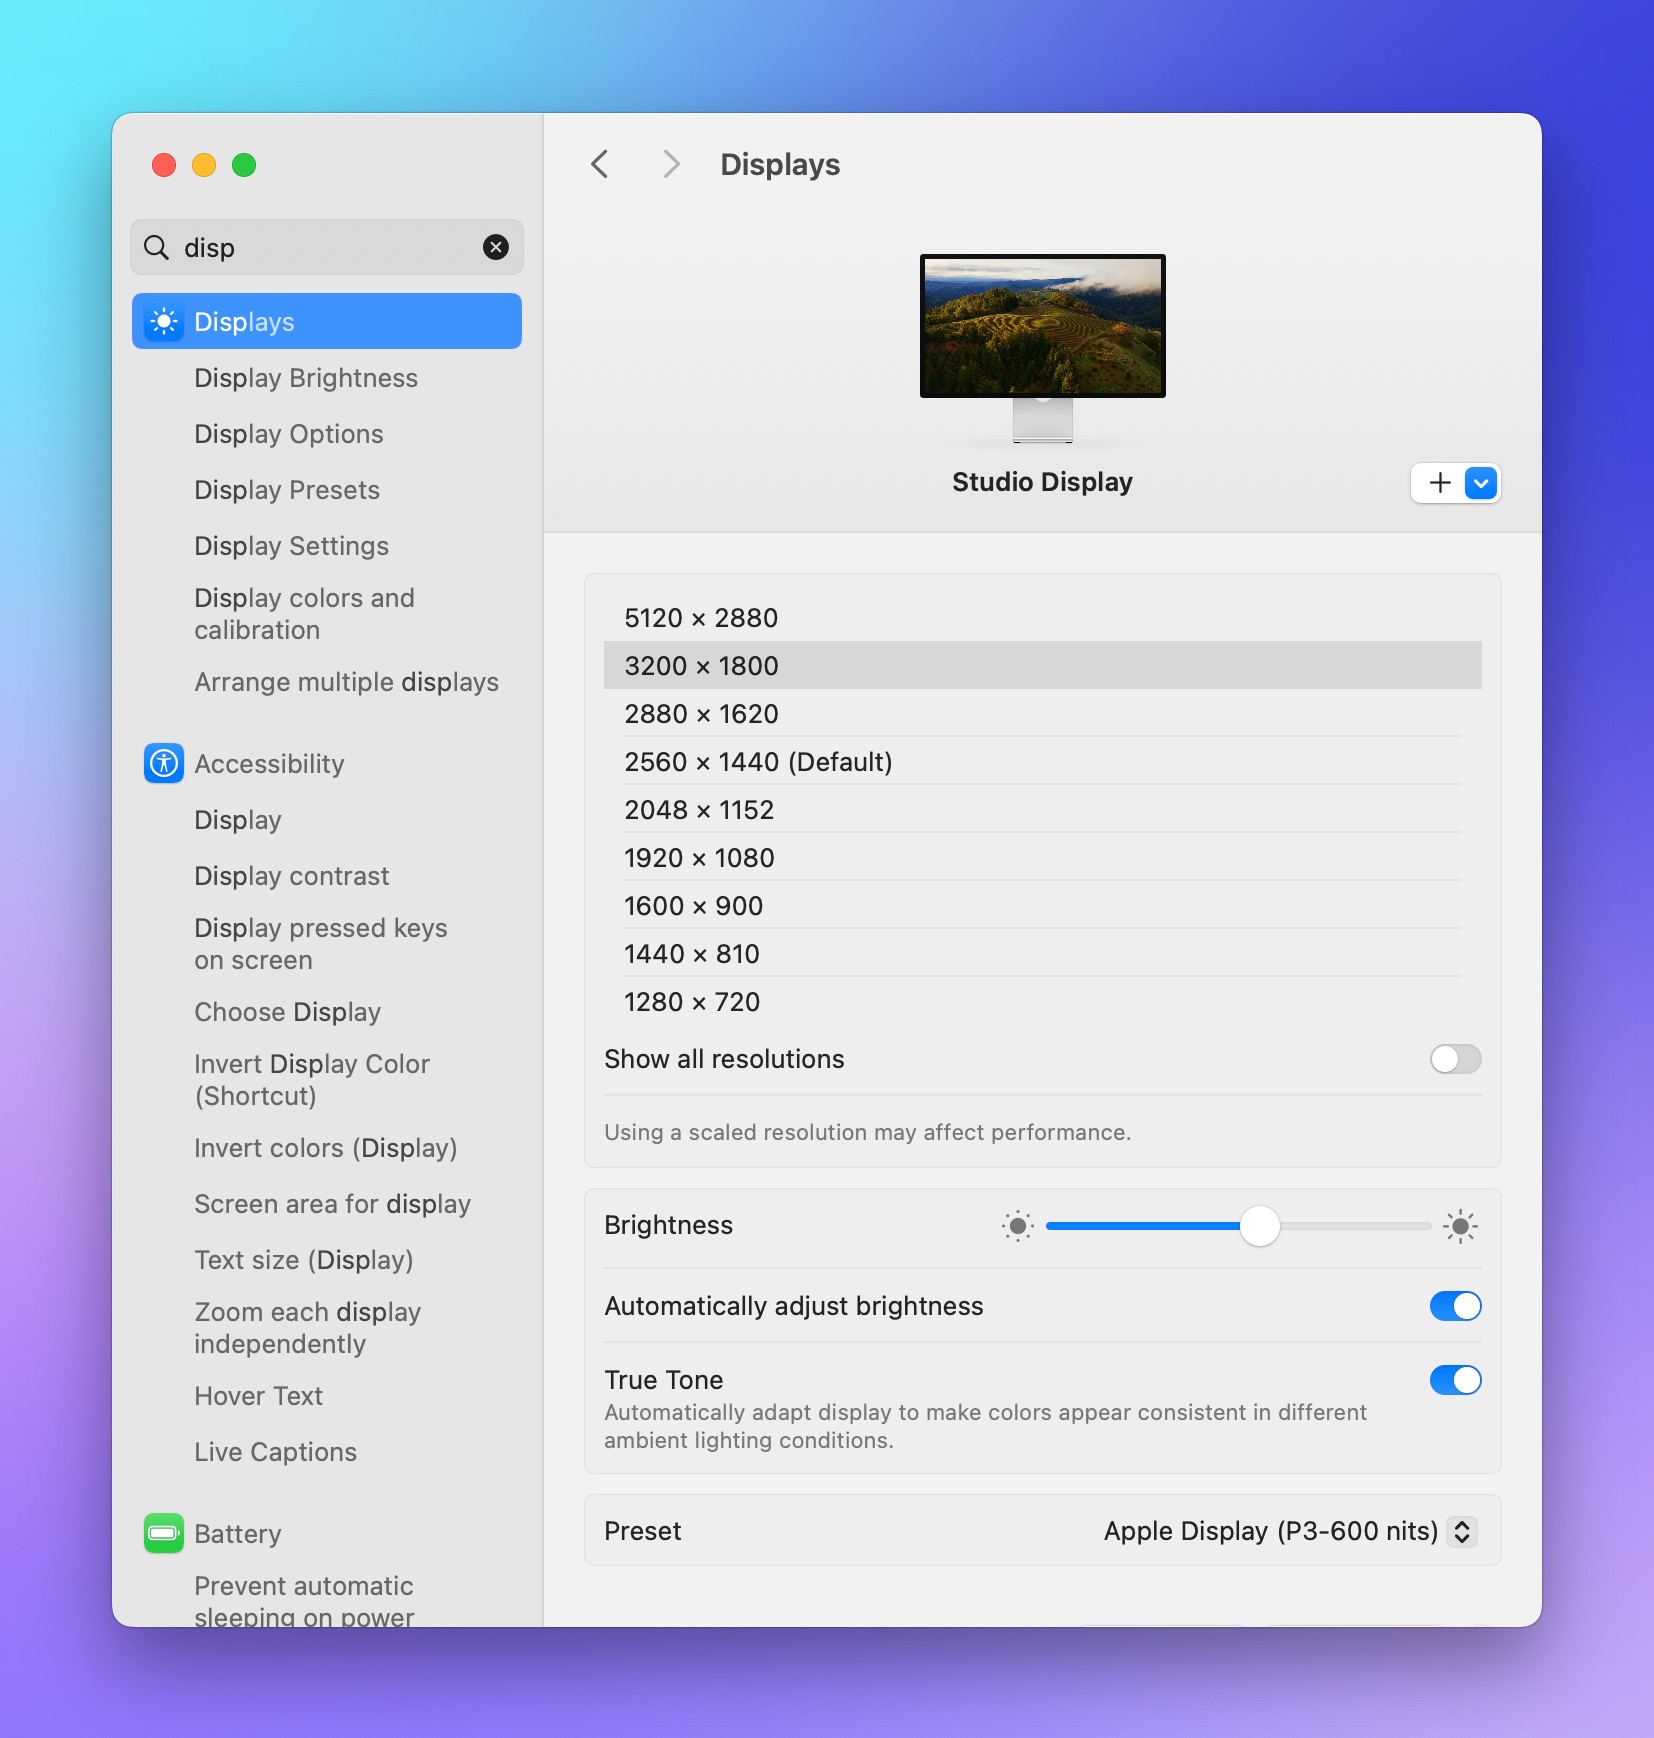
The thing is, this isn’t actually the highest resolution. If you click the “Advanced” button on this screen and choose to display resolutions as a list, you see that “More Space” sets the monitor to 3200 x 1800, and that there’s another option for 5120 x 2880.
Here’s my gripe with macOS though – remember that “Larger Text” setting? That’s because Apple’s basic way of noticeably changing text size is changing monitor resolution. Which… is stupid. Screen resolution should be used to change how much you can see on screen at once, not to directly correlate that to text size. Yes, there will be some correlation, but Apple’s kind of making it 1:1 instead of allowing it to be a loose, more flexible relationship.
Yes, you can adjust the font size in finder windows to a degree (but not enough for old eyes at 5120 x 2880) and you can adjust font size in some apps with ⌘+, but other apps either have their own way or don’t let you do it at all, and the desktop and menu bar are non-adjustable as far as I can tell.
Accessibility has a few features for this, and you can VERY slightly increase menu bar font size (but not menu bar icon sizes (?) and I couldn’t find a way to change desktop font size. It’s very weird, and I’m sure an accessibility expert could point out all the things I’m missing, but the point is it’s non-discoverable and there’s no unified way to say “Guys, I’m looking at everything shrunk down because I’m on the highest resolution, just show me proportionally larger text EVERYWHERE. You’re the operating system, make it happen.”
I don’t know what Microsoft is doing, but they apparently realize that letting the text disappear into the distance at 5120 x 2880 is a bad idea, because the text is not that much smaller than it was for me on my previous QHD (2560 x 1440) work monitors. I really didn’t notice much of a difference for a lot of things other than suddenly having tons of viewing space. Certain apps like RDCMan and anything happening on remote machines at those higher resolutions are exceptions, of course.
Anyway, I’d love to know why this is the way it is, what I’m doing wrong (you’re the internet, isn’t it your God given mission to make sure people know they’re wrong?), and how everyone else handles it without just saying “well, I guess I’ll just view everything at 1440 x 810” or some ridiculous thing. Let me know.
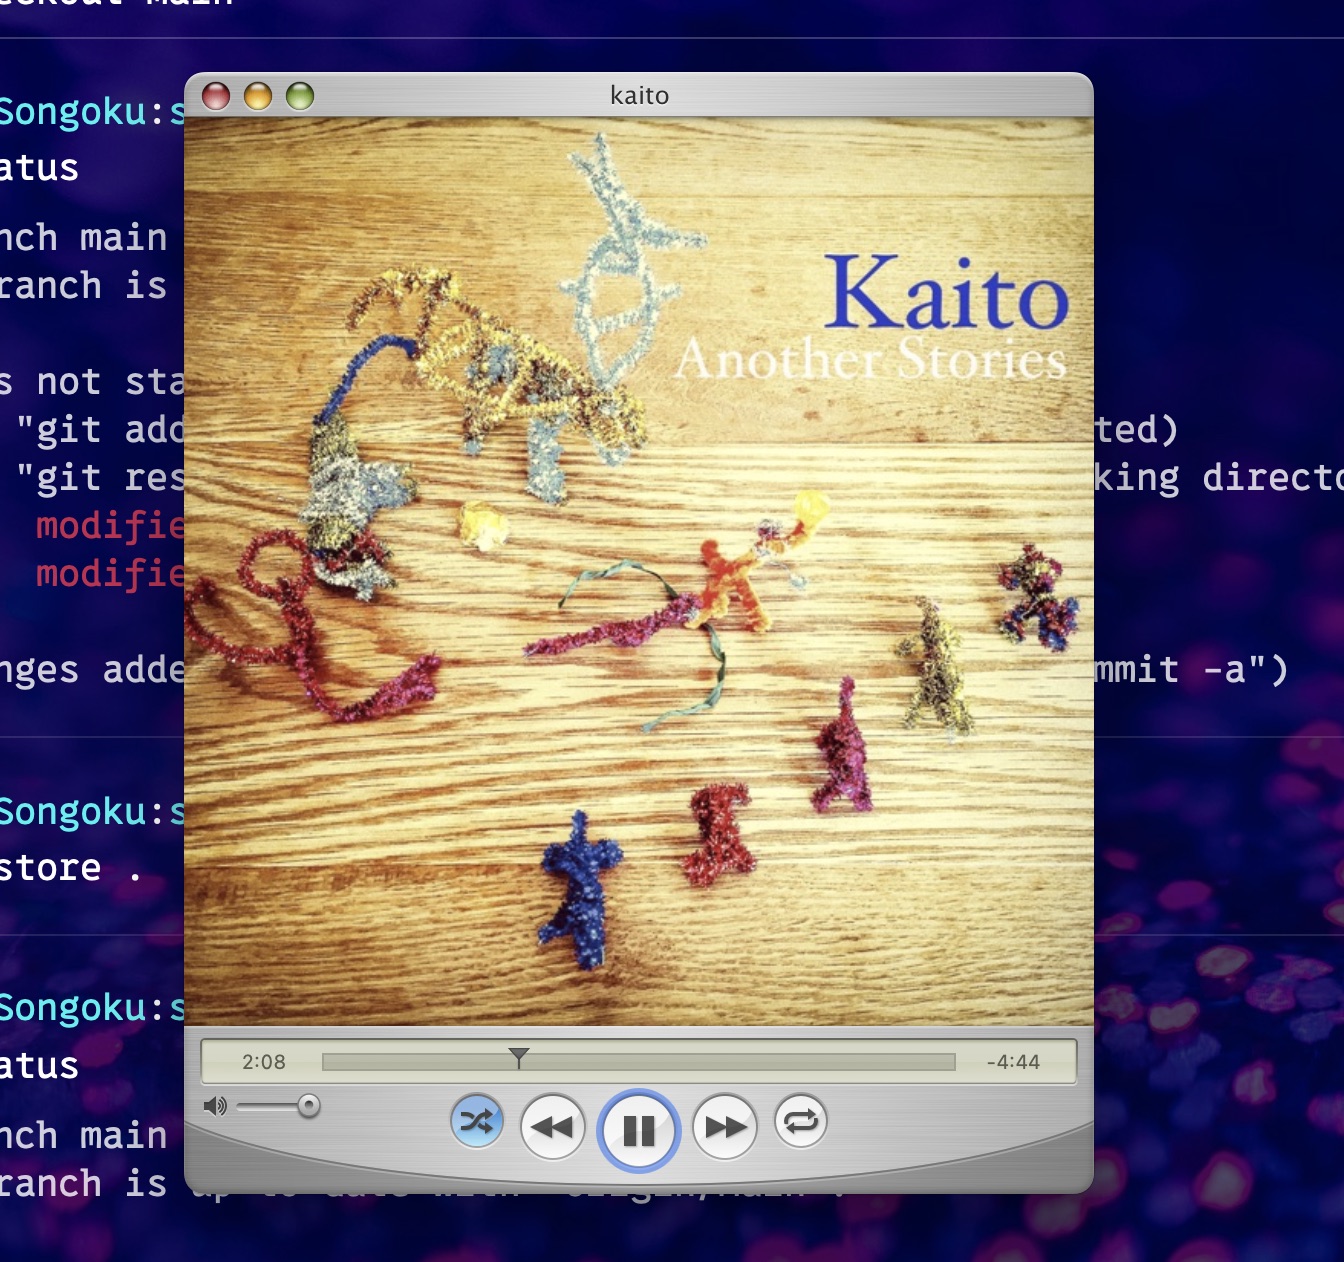
Mario Guzmán has made some beautiful apps in his time, and QuickTune tops the list in my opinion. QuickTune is a beautifully Tiger-ish retro music player that uses Apple Music but gives a beautiful retro brushed metal QuickTime UI for controlling and visualizing your playlists with.
I’m not usually nostalgic about apps. I appreciate classic designs from the past, but I find ‘new’ more exciting. However, for every rule, there’s an exception, and for me, it’s Mario Guzmán’s beautiful, pixel-perfect reimagining of classic Apple music apps.
I’m kind of the same way – while I do feel that flat modern design sensibility has caused the Mac UI to lose some soul, I generally don’t worry about it a lot. But still, the kind of apps Mario makes do harken back to when beautiful apps mattered and there was a clear cut distinction between Mac operating systems and everything else. I really like that.
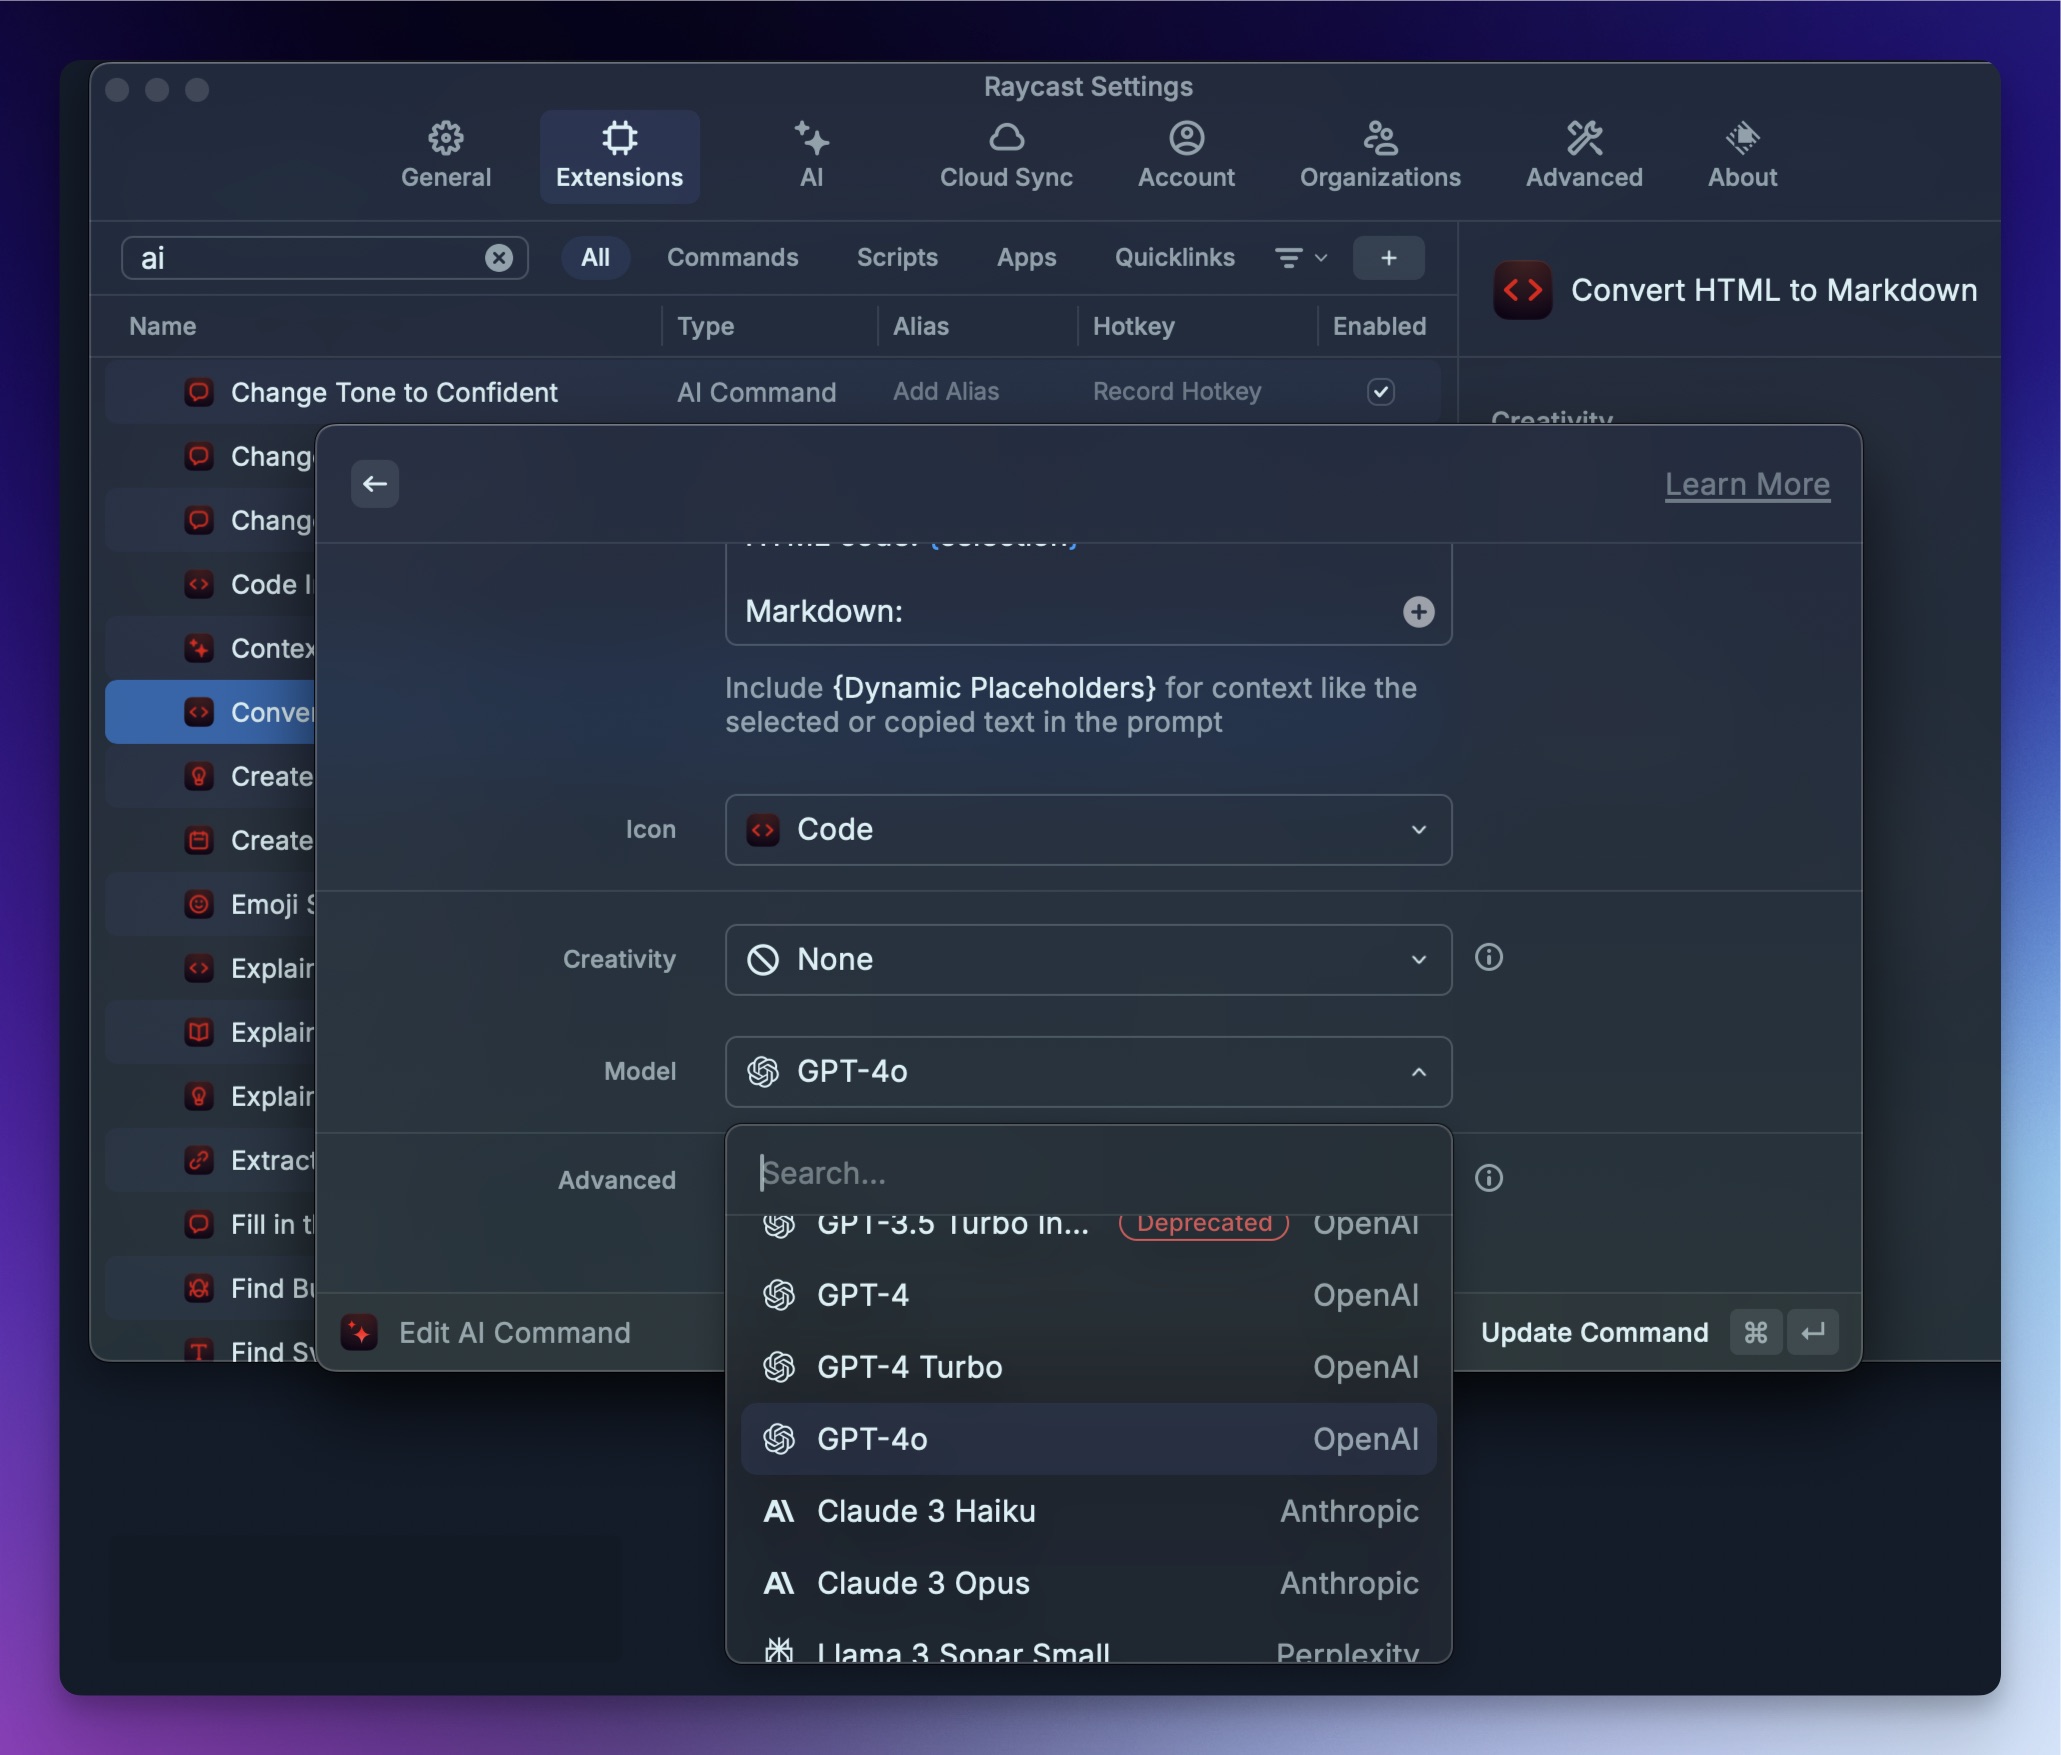
Raycast AI Commands (documented here in the Raycast manual) are really just prompts for the LLM to perform an action with specific instructions. You can also customize them to use specific models available to Raycast Advanced AI subscribers, so you could use Anthropic Claude 3 Opus for one thing, OpenAI GPT-4o for another, and so on.
The reason it didn’t occur to me that I might miss these? I never use them. I haven’t tried to incorporate them into my workflow and as a result I have no idea if I would benefit from them or not. I will definitely have to do some testing and find out if I’m missing a useful tool or if I never figure out a use for them.
One annoyance about them is also a side-effect of one of their main features – you will have to manually edit your AI commands to update to newer LLMs when it becomes useful to do so.
Again, this isn’t a lazy miss because being able to choose your model is a feature, but it can eventually become a maintenance chore as well.
You may be wondering “what are these good for?” Imagine you constantly write new regex based on text patterns. You might benefit from the Regex Generator AI command, which tells the LLM the following:
1
Generate a regular expression that match the
2
specific patterns in the text. Return the regular
3
expression in a format that can be easily copied
4
and pasted into a regex-enabled text editor or
5
programming language. Then, give clear and
6
understandable explanations on what the regex is
7
doing and how it is constructed.
8
9
Text: {selection}
10
11
Regex:
Let’s say I have some Markdown links, a subset of which looks like this:
1
## The Links
2
3
-[Hibiscus Tea | Traditional Medicinals](https://www.traditionalmedicinals.com/collections/all/products/hibiscus-tea)
4
-[J-BASKET BANCHA KAWAYANAGI TEA 48/8.00 OZ - JFC International](https://www.jfc.com/product/item/28211)
-[Emperor of the Fading Suns - Wikipedia](https://en.wikipedia.org/wiki/Emperor_of_the_Fading_Suns)
9
-[GOG.com](https://www.gog.com/)
10
-[WineHQ - Run Windows applications on Linux, BSD, Solaris and macOS](https://www.winehq.org/)
11
-[Whisky - Run Modern Windows Games on macOS](https://getwhisky.app/)
12
-[Run Microsoft Windows software on Mac and Linux | CodeWeavers](https://www.codeweavers.com/crossover/)
13
-[Run Windows on Mac with a virtual machine | Parallels Desktop](https://www.parallels.com/products/desktop/)
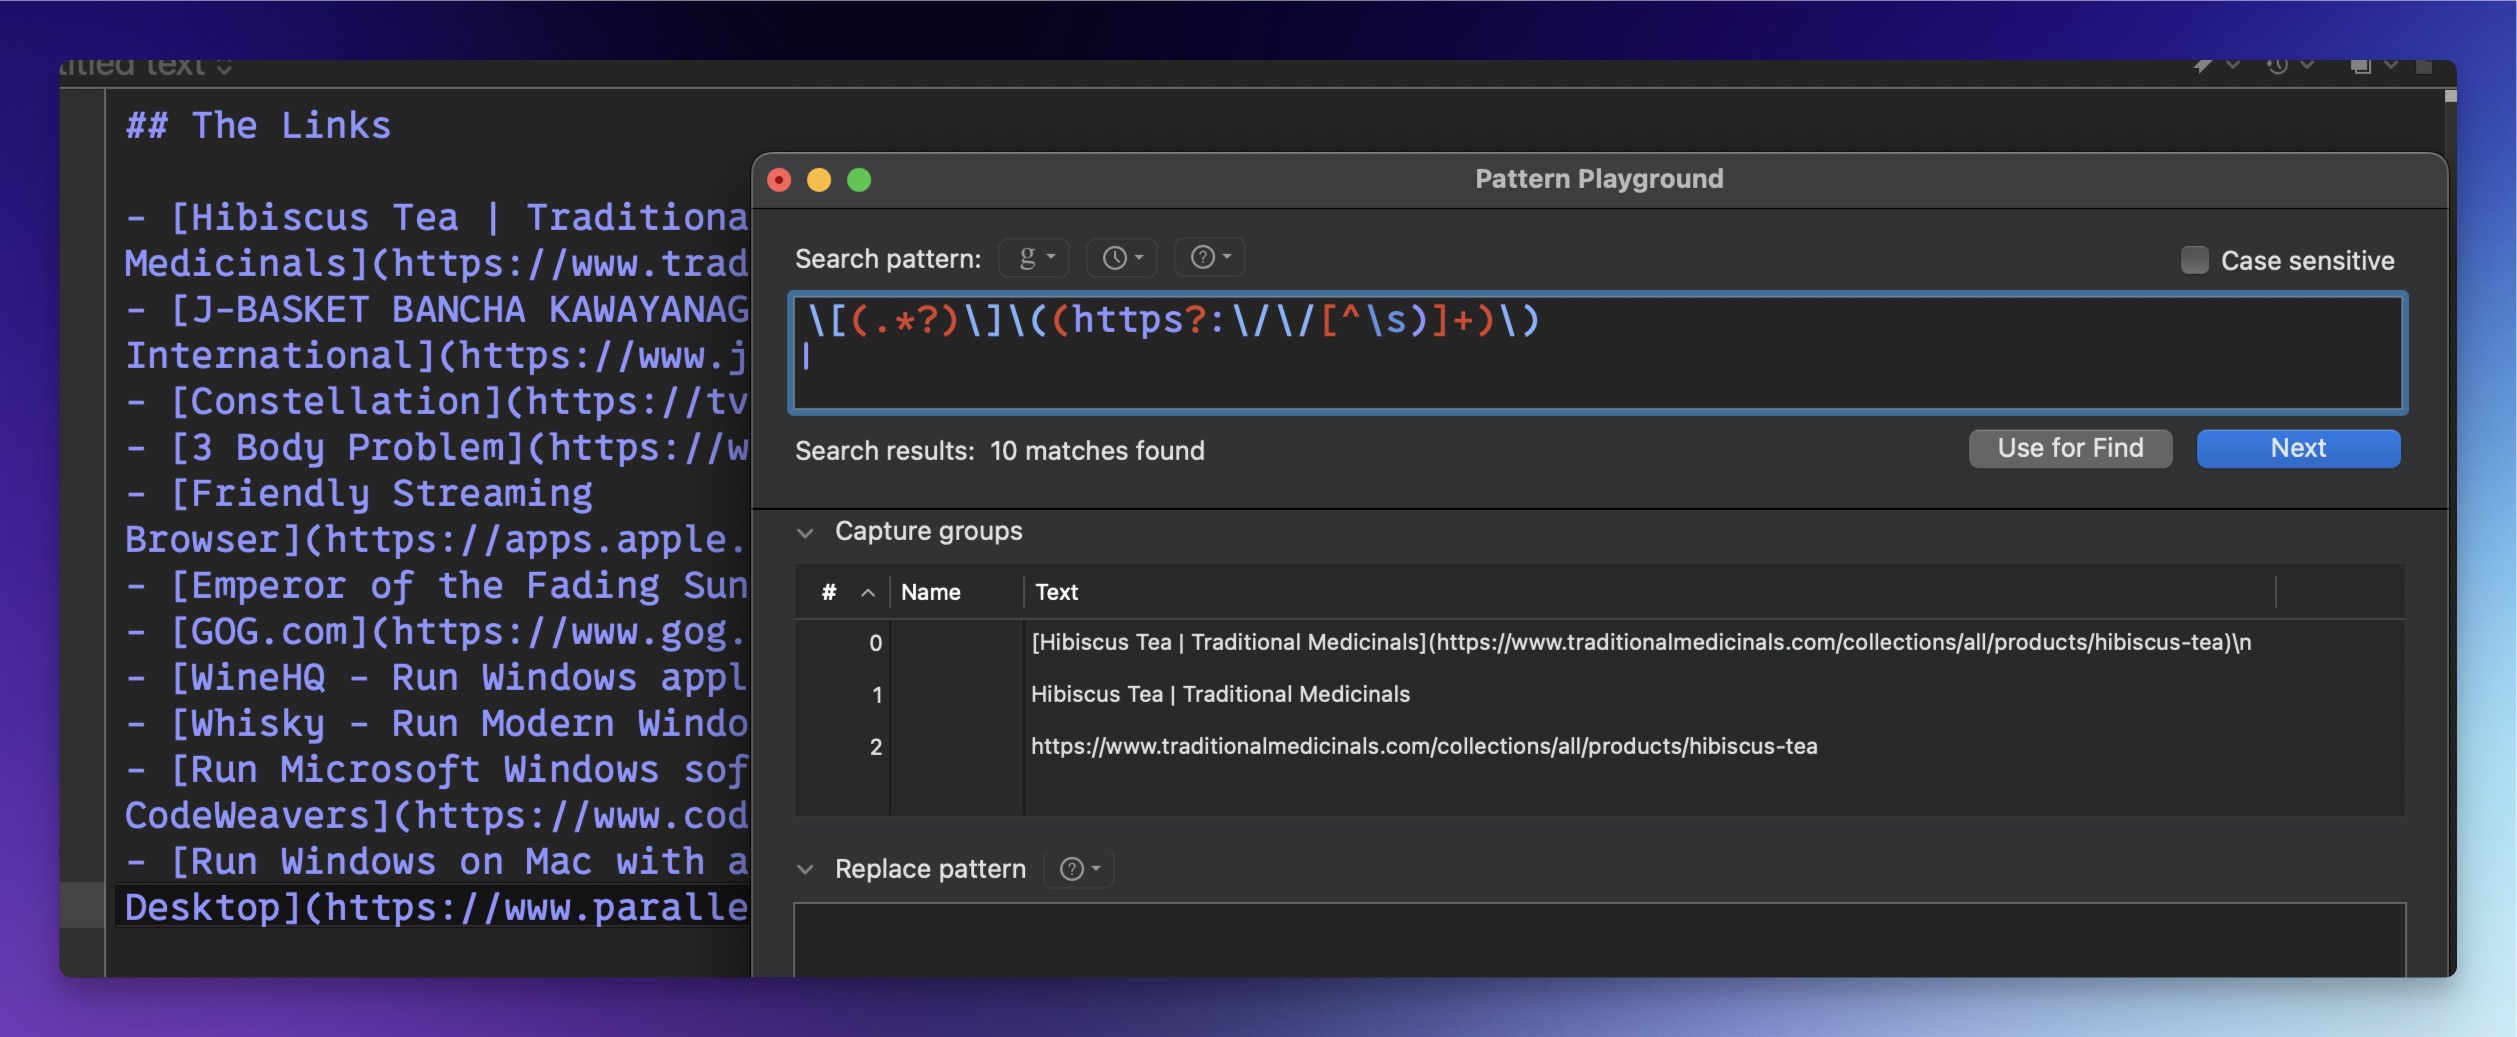
The Regex Generator AI Command comes up with this regular expression:
1
\[(.*?)\]\((https?:\/\/[^\s)]+)\)
Using BBEdit’s Pattern Playground, you can see in the Capture groups section of the window that it captures the entire Markdown link and also the link name as the first capture group and the URL as the second capture group.
It’s not a horrible result given the text I gave it. It makes me want to play with this specific AI command more on various pieces of data such as log files and see what it does.
Anyway, all this to say that there are some advantages that Raycast AI has in how things can be massaged and customized to provide desirable responses, and the way the Raycast developers have made it extendable and customizable by the end users too.